littles : an ikea flip
— IKEA KITCHEN DIY —
hi friends! here we are with the infamous Ikea DUKTIG diy makeover!
this was a fun project that honestly was more for me than for Rehn. she wouldn’t have cared if it looked like it did out of the box, but i like to create and this was an opportunity for me to do so!
pinterest was my friend in the inspo department — i’ll link my little board here
we bought ours off of FB marketplace, so it had some wear, but i think that gives it character. i got this for her for christmas, and made a conscious effort to only buy secondhand or shop small for her gifts, and we did! it’s a practice and something i want her to be able to value as she grows older. that just because something is pre-used or not brand new, doesn’t mean value is lost or that it’s any less beautiful! that buying secondhand, you’re actually saving on cost, and most importantly helping produce less waste - therefore saving lives(human and animal)in the process! it’s something that i am passionate about, so i think it’s cool to incorporate that in small ways while she grows up.
that being said, let’s get into the nitty-gritty of it all :)
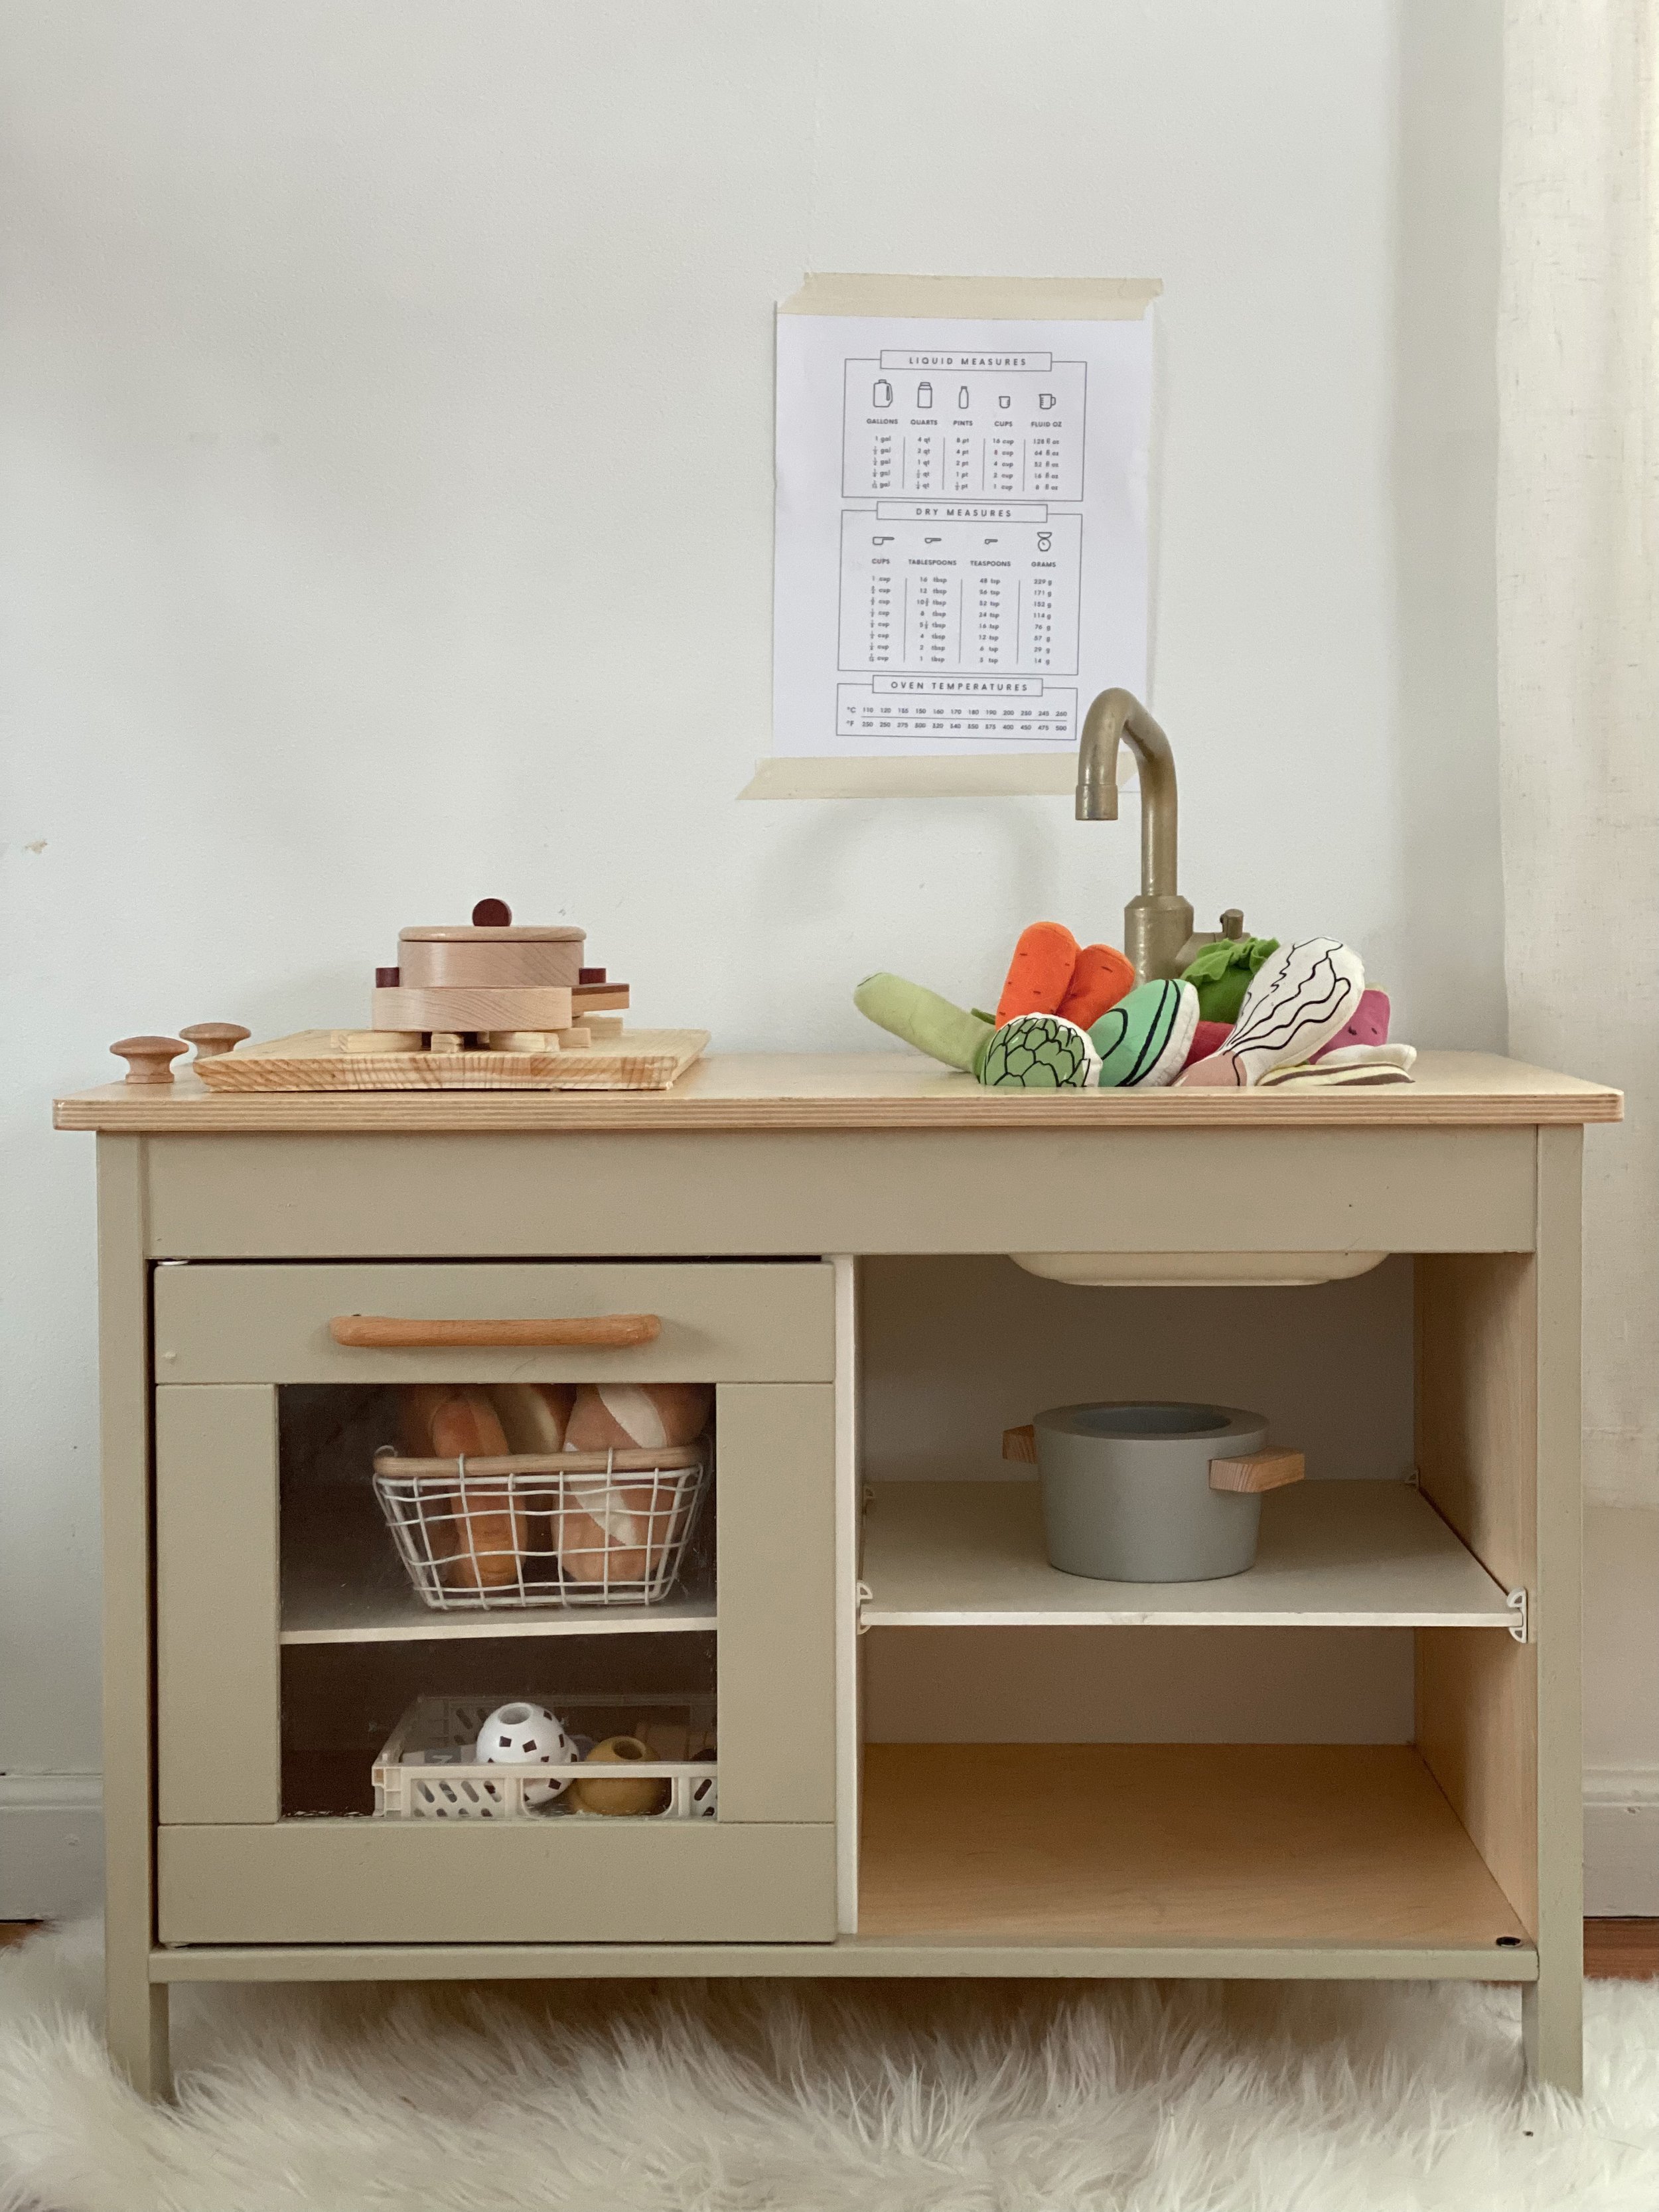
this is the original ikea play kitchen in all of its glory! it’s honestly not bad to look at, but i’m not a huge fan of the black and gray, so we switched it up a bit! i started by detaching the upper half(which we have in storage just in case i change my mind one day)to simplify it a bit, and making it easier for me to move it around - because i’m an indecisive human who moves things around the house hundreds of times :)
we asked for a sample of “balance green” paint by Behr from home depot & it was the perfect amount needed!
i ordered everything off of amazon to switch things up & will have everything linked at the end!
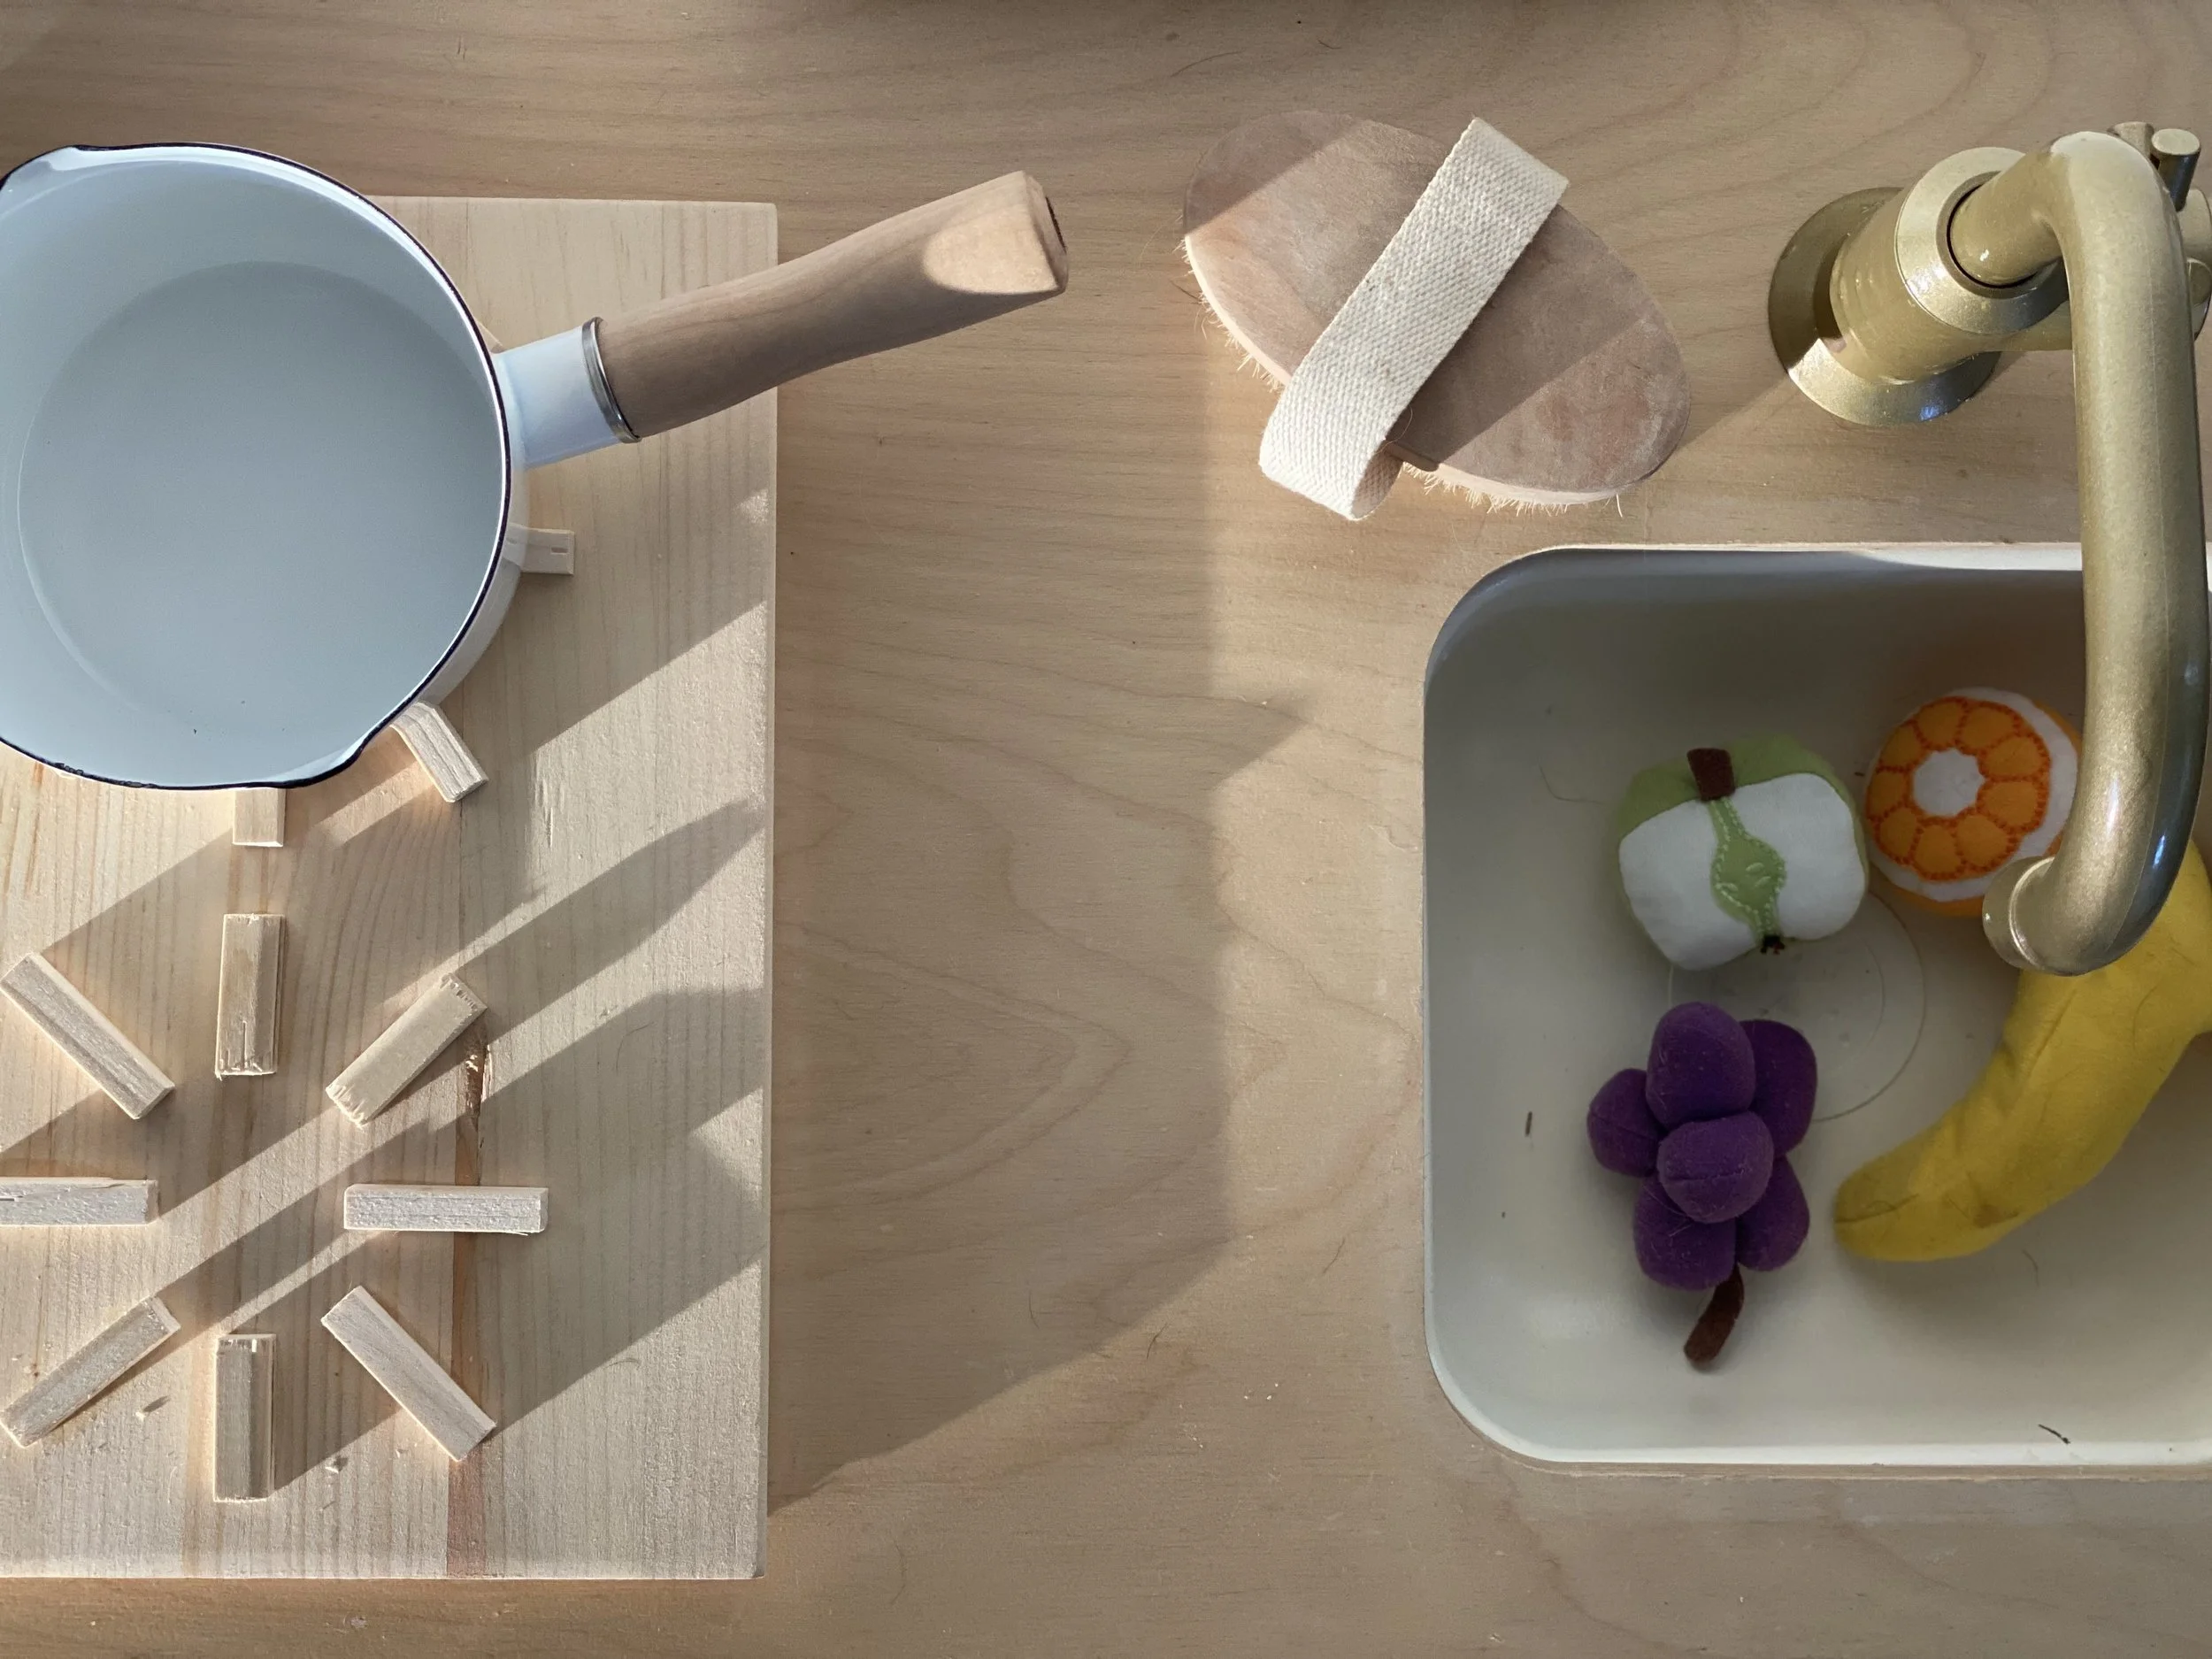
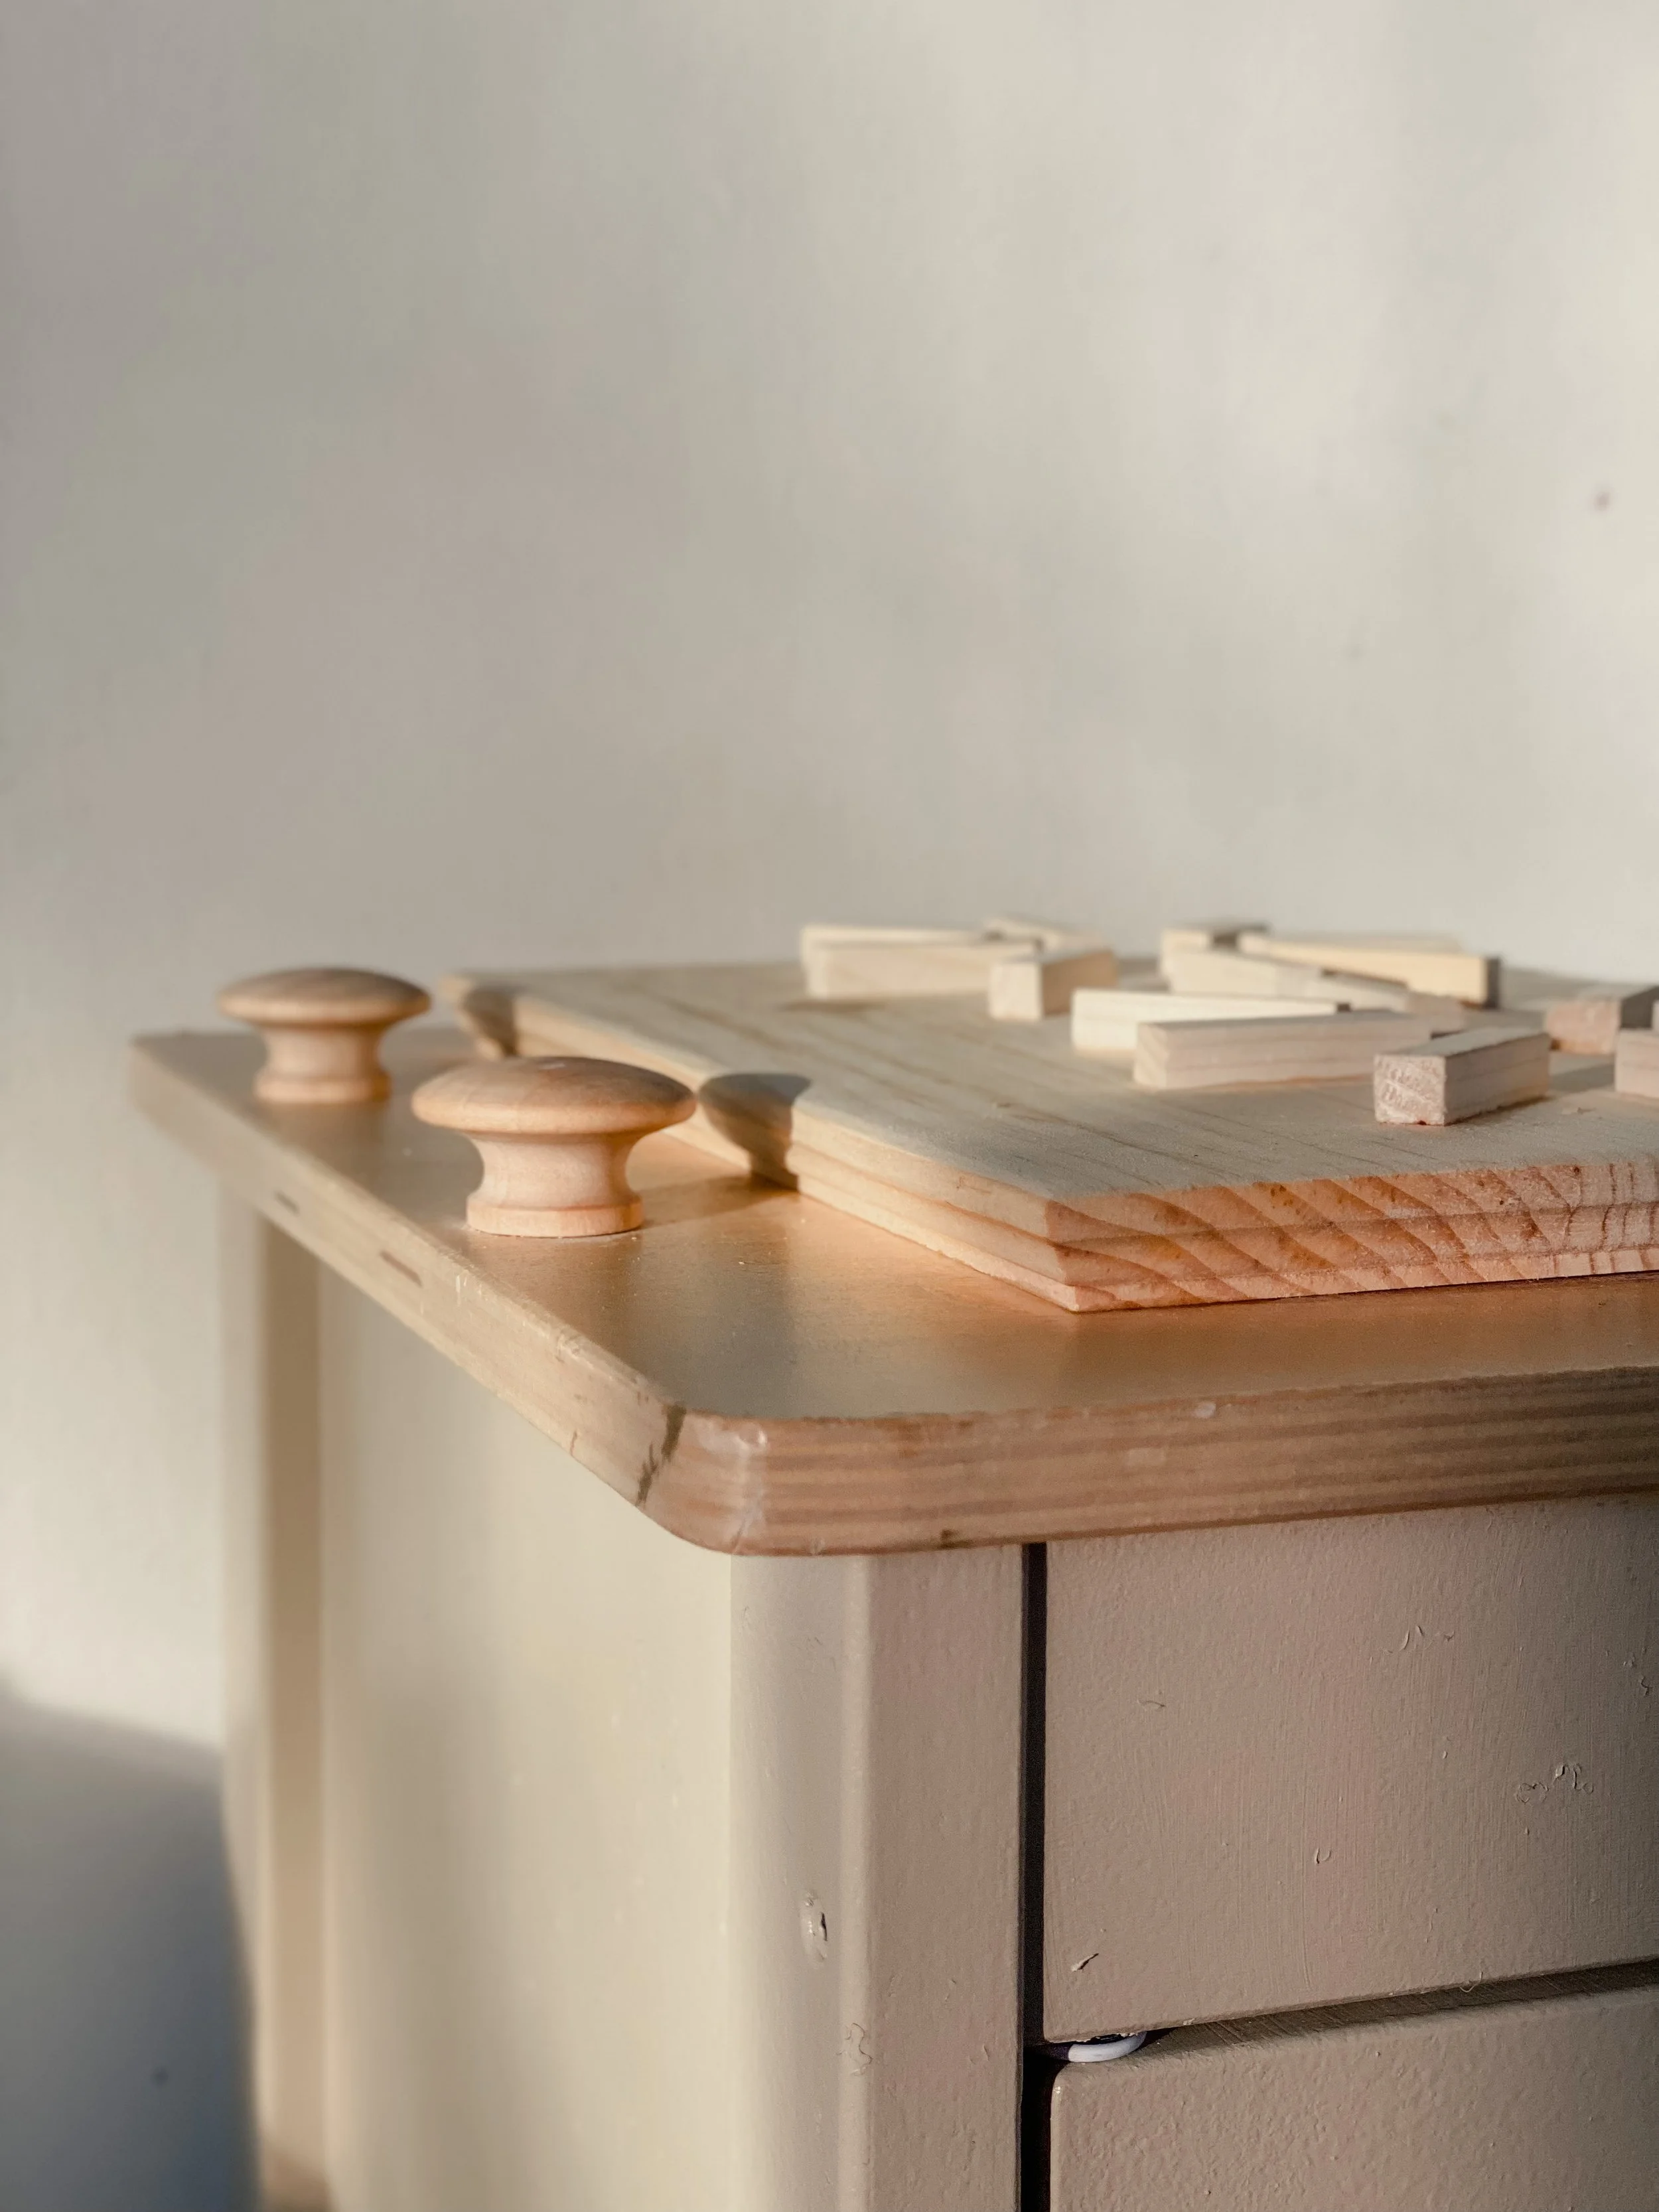
something i wanted to diy was a stovetop! i loved the simplistic look of just the board on top, but i wanted something a little more realistic looking! Jake ended up cutting some rods we had in our garage — All of these pieces were cut at about 1/2 in depth & i think they turned out beautifully! i wish i had whitewashed the entire board and rods, but it is what it is & looks totally fine un-finished!
we also added little nobs(that actually turn which i thought was super cool)to the side of the stovetop. i was going to put them in the front, but it looked really off-centered with just two burners so we just added them to the side and i love it!


the sink originally sat on top of the counter and just rested there — we ended up spray painting it & secured it with screws underneath and it’s worked out so well. i can attest to it holding up just fine with a 24lb toddler standing and sitting in it all the time.(we’re working on it, but something about it is so fun for her & it’s hard to keep track sometimes). we painted the sink and the two shelves underneath the same color!
i also painted the faucet a brass color, which i think elevated the whole thing! we took the handles off of the doors and added wooden ones from amazon, and i honestly sat there staring at it all assembled & contemplated on painting the stovetop knobs and handles the same color, but i opted to leave them wood & i’m very happy with that decision. it’s more organic looking, but i will say that if you don’t like different tones of wood together, you might want to spray paint them because they do not match the stovetop or the countertop!
— S U P P L I E S —
◠ IKEA KITCHEN — I K E A
◠ EXTERIOR PAINT — H O M E D E P O T
◠ SINK COLOR — A M A Z O N
◠ FAUCET COLOR — A M A Z O N
◠ STOVETOP — A M A Z O N
◠ 1/2 INCH BURNER RODS — A M A Z O N
◠ WOODEN NOBS FOR STOVE — A M A Z O N
◠ WOODEN HANDLES — A M A Z O N
— A C C E S S O R I E S —


